



Home Assistant Integration for the OpenDisplay project, enabling control and monitoring of E-Paper displays through Home Assistant.
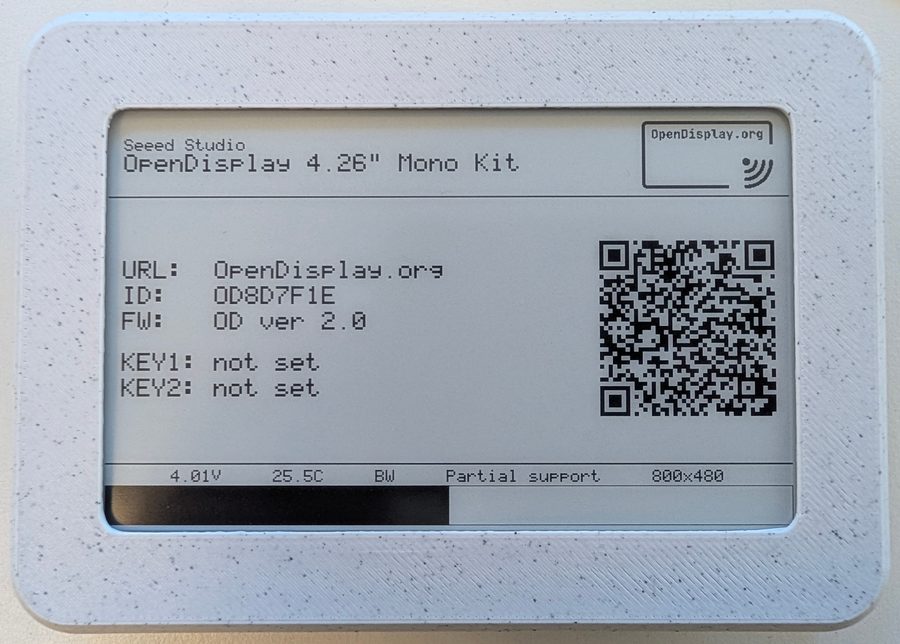
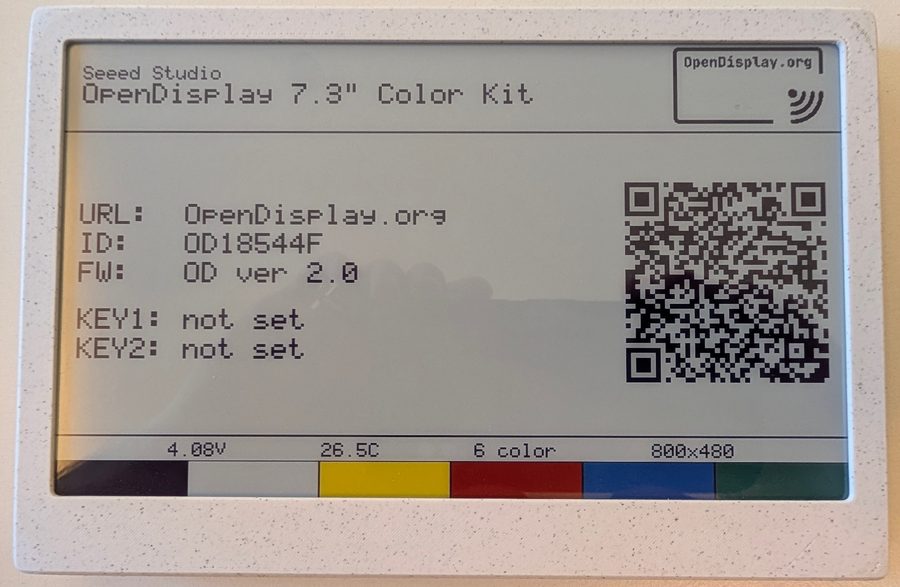
The OpenDisplay 4.26" mono and 7.3" colour kits
- Home Assistant 2026.7.0 or newer
- A Bluetooth adapter, or an ESPHome Bluetooth proxy
- An OpenDisplay-compatible board and panel. See the compatibility guide
Each device is set up over Bluetooth and appears with:
| Display content | an image entity showing the last frame sent, or the one queued for a sleeping tag |
| Sensors | temperature, humidity (on tags with an SHT40), battery level and voltage, signal strength, last seen |
| Buttons and touch | event entities for physical buttons and touch controllers |
| Firmware | an update entity that flashes new firmware over Bluetooth |
| Status | whether content is waiting to be delivered, and whether WiFi delivery is in use |
and these actions:
| action | |
|---|---|
opendisplay.drawcustom |
compose a frame from text, shapes, icons, QR codes, images, plots and progress bars |
opendisplay.upload_image |
send an existing image, from a local file or a URL |
opendisplay.activate_led |
flash the on-board LED in a colour sequence |
opendisplay.activate_buzzer |
play a tone |
opendisplay.play_melody |
play a sequence of notes |
opendisplay.write_nfc |
write a URL, text, MIME record or Home Assistant tag to the NFC chip |
Battery-powered tags are handled properly. A deep-sleeping tag is dark most of the time, so content sent to one is queued and delivered the next time it wakes, rather than failing. The image entity shows the queued frame straight away and marks it as pending until it lands.
WiFi-capable tags deliver over the LAN when the device has recently announced itself over mDNS, falling back to Bluetooth otherwise.

- Download the
opendisplayfolder from the latest release - Copy it to your
custom_componentsfolder - Restart Home Assistant
Devices are discovered automatically once they are in range, over Bluetooth or over mDNS if they are on WiFi. Confirm the discovery to add one.
If a device has encryption enabled you are asked for its 32-character key. Home Assistant prompts you again if the key is ever rejected.
Each device has options, under Configure on the device page:
| option | |
|---|---|
| Sleep mode | whether to treat the tag as deep-sleeping. Automatic follows the device's own power configuration |
| Missed cycles | how many wakes may be missed before entities are marked unavailable |
| Queue timeout | how long queued content waits for a wake before it expires |
| Probe before queueing | try a quick connection first, so content reaches an awake tag immediately |
| Blocks per ack, Max queue size | Bluetooth transfer tuning; leave these alone unless transfers are unreliable |
In the UI the device picker fills these in for you. In YAML, replace
YOUR_DEVICE_ID with the device's id.
drawcustom takes a target, so one call can draw to several devices, or to
a whole area or label. The other actions take a single device_id field.
payload is a list of elements drawn in order: text, shapes, icons, QR codes,
images, plots and progress bars.
action: opendisplay.drawcustom
target:
  device_id: YOUR_DEVICE_ID
data:
  payload:
    - type: text
      value: Hello World!
      x: 10
      y: 10
      size: 40
      color: red
Templates are rendered, so a frame can show live state:
action: opendisplay.drawcustom
target:
  device_id: YOUR_DEVICE_ID
data:
  payload:
    - type: text
      value: "Temperature: {{ states('sensor.temperature') }}°C"
      x: 10
      y: 10
      size: 24
    - type: progress_bar
      x_start: 10
      y_start: 50
      x_end: 180
      y_end: 70
      progress: "{{ states('sensor.battery') | int }}"
      show_percentage: true
    - type: icon
      value: mdi:battery-70
      x: 190
      y: 60
      size: 24
Every element type and field is documented in the drawcustom guide.
action: opendisplay.upload_image
data:
  device_id: YOUR_DEVICE_ID
  image:
    media_content_id: media-source://media_source/local/weather.png
media_content_type: image/pngUp to three colour steps run in sequence. Set a step's flash_count to 0 to
skip it.
action: opendisplay.activate_led
data:
  device_id: YOUR_DEVICE_ID
  brightness: 8
  color1: [255, 0, 0]
  flash_count1: 3
repeats: 2action: opendisplay.activate_buzzer
data:
device_id: YOUR_DEVICE_ID
frequency_hz: 1000
duration_ms: 200Or play a melody, as note names with optional durations:
action: opendisplay.play_melody
data:
  device_id: YOUR_DEVICE_ID
  notes: C4 E4 G4 C5
tempo: 120record_type is url, text, mime, or ha_tag to write a Home Assistant
tag that a phone can scan to trigger automations.
action: opendisplay.write_nfc
data:
  device_id: YOUR_DEVICE_ID
  record_type: url
content: https://www.home-assistant.io/The integration is available in Czech, Dutch, English, French, German, Italian, Polish, Portuguese (European and Brazilian), and Spanish.
English is written by hand. Every other language is machine-translated and has not been reviewed by a native speaker, so expect the occasional awkward or plainly wrong phrasing. Corrections are very welcome, and they stick:
- Edit the relevant file in
custom_components/opendisplay/translations/and open a pull request. There is no need to touch anything else. - Your wording will not be overwritten. The translation workflow records a fingerprint of what it generated, so it can tell its own output from a human edit. Once you have corrected a string it is treated as yours. If the English source later changes, the workflow flags the string for review rather than replacing your version.
One style note if you are correcting a string: translations deliberately avoid the familiar/polite distinction (German du/Sie, French tu/vous, and so on) by using impersonal phrasing, such as infinitives for instructions. Please keep that style.
Missing a language? Open an issue and we will add it.
See CONTRIBUTING.md for how the translation workflow is maintained.
Pull requests are encouraged, and bug reports and feature requests are welcome. See CONTRIBUTING.md for the commit conventions and maintainer notes, or join the Discord server to discuss ideas and get help.