The manual install, kept for reference. For the container see Usage.
- Download the latest release of LinkStack and simply place the folder 'linkstack' or the contents of this folder in the root directory of your website.
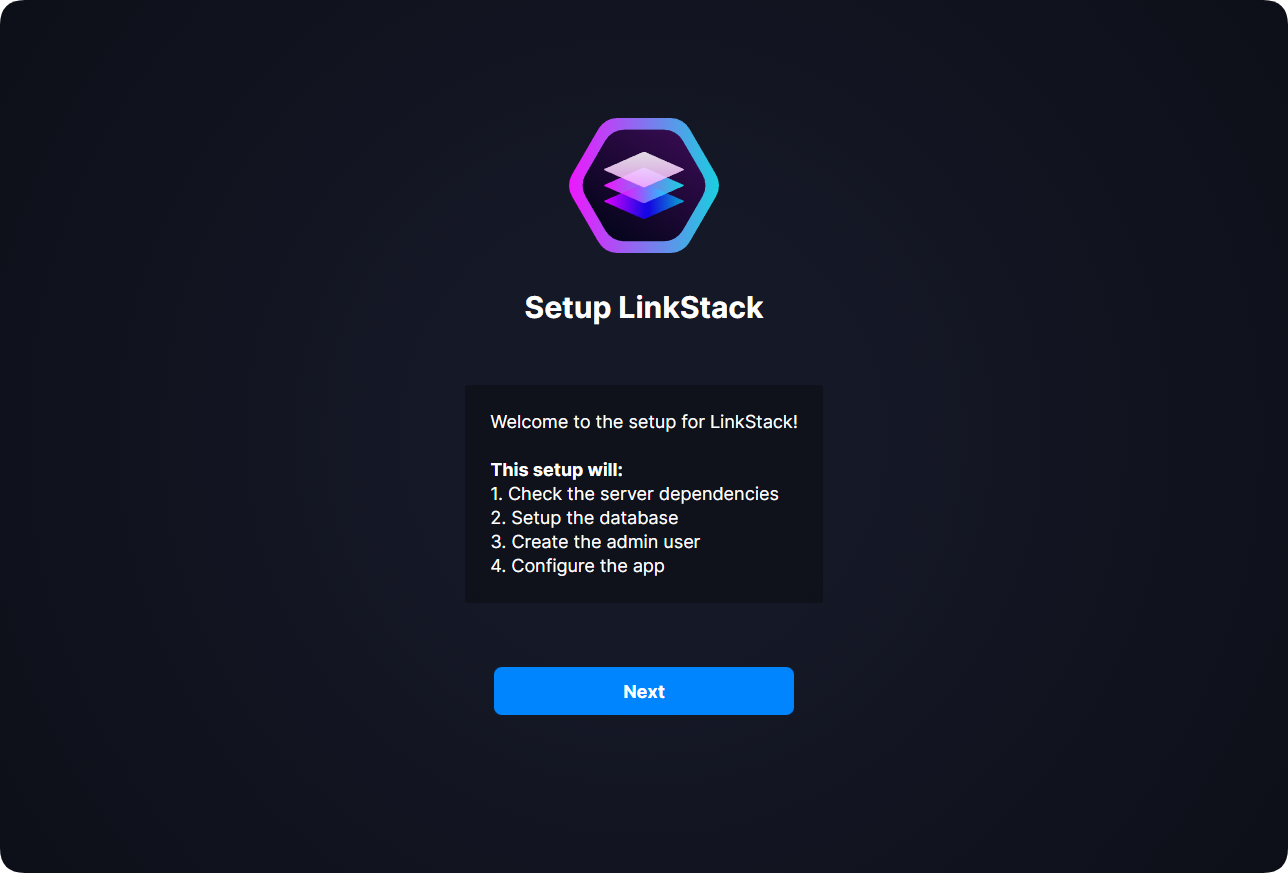
When accessing your instance for the first time, you will be greeted by the first setup page.
When a new version is released, you will get an update notification on your Admin Panel.
This updater allows you to update your installation with just one click.
How to use the Automatic Updater:
-
To update your instance, click on the update notification on your Admin Panel.
-
Click on “Update automatically” and the updater will take care of the rest.
You can still download updates manually. New versions will are still uploaded to the GitHub repository as usual.
Before updating, the updater will create a backup. Your instance won’t save more than two backups at a time. You can download these updates from the created folder: backups\updater-backups.
If you switched your database to MySQL, your database will not be included in the backup.
The updater may fail without throwing an error and just remain on the current version if there are unmet dependencies. This could include not having the correct version of the dependencies (eg. having php-sqlite3 pointing to php8.3-sqlite3, while LinkStack uses PHP 8.2 and needs php8.2-sqlite3). To troubleshoot, update manually and check the errors thown by the instance when accessing the website, as well as the PHP version reported.